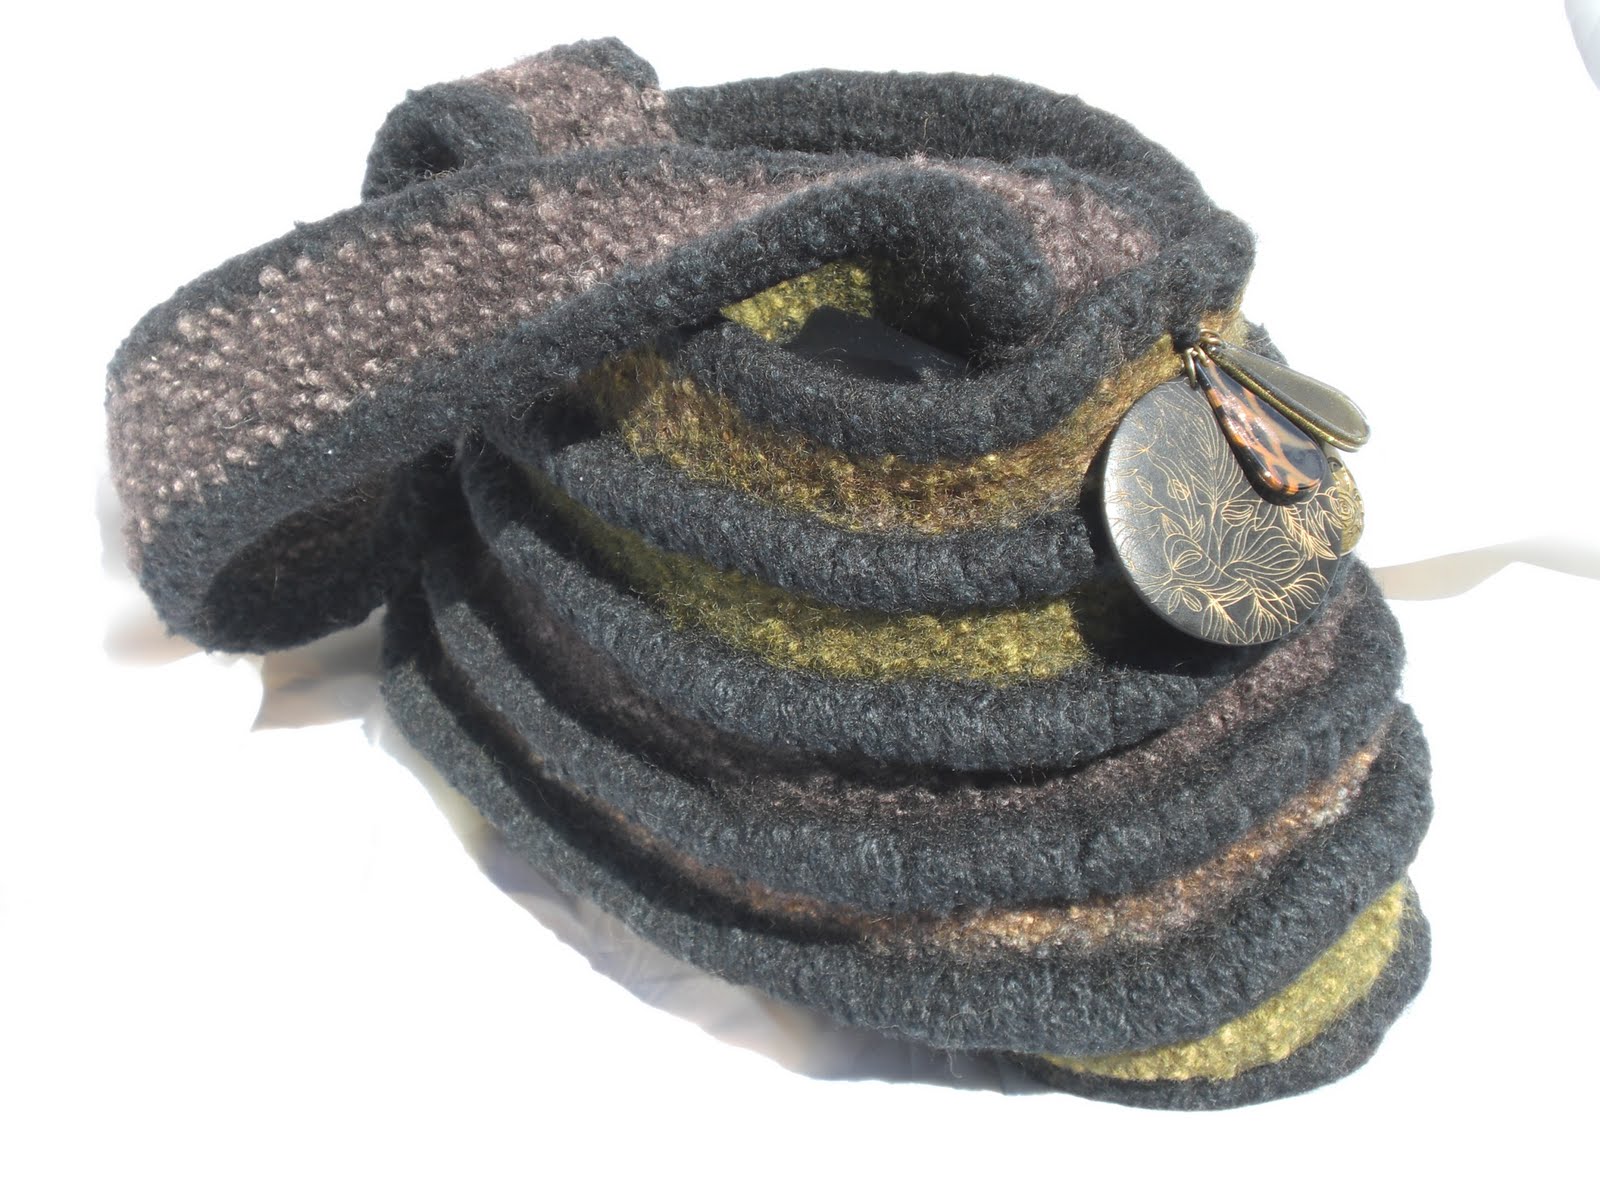
Showing posts with label knit felt. Show all posts

11/8/11

Sell-a-Bration Report

I've never sold that much at any given sale.

I sold purses, several.  I sold fringe scarves, made from stash yarns.  Arm warmers, wristers and recycled sweaters made into a variety of gloves, sleeves and boot toppers.  On top of all that the hubby sold a ring, two giant safety pins and a copper bracelet - all his design.

What a great sale.  Made enough money to support my knit - felt habit.  This little item is for sale on my Etsy store: etsy.com my store BIGSIS2

The Sell-a-Bration was the Women's Conference for Indiana District Assemblies of God and my sister and I set up our creations for sale during the 2 day event.  Met some great new friends.

5/25/11

Purse Handles, Knit, Felt, I-Cord, Crochet, Macrame - a variety of Strap Options

I've pulled together a collection of some my purse straps in pictures.

Pottery embellishment on this drawstring i-cord closure.
 The i-cord is the most common strap I knit for purses and bags.  I also have used my loom to weave straps and closures.

For small embellishments I use crochet or Macrame to finish a purse.
Handwoven (on loom) strap.  Sewn to the rings on a sewing machine.
 Another interesting concept is to add the strap to the bag while knitting.  It isn't difficult, but it takes planning.

I've embellished my purses with stones, pottery, polymer clay, buttons, and jewelry pieces.

Embellished with needle felt.

One of my first knit felt purses. I-Cord handle

Strap sewn to bag after completion, knit/purl rows with an added knit and tucked trim.

Strap knit as a part of the purse before felting.

another i-cord bag.
Over time, I've found the purse strap to be the biggest challenge when planning and knitting a felted bag.  The strap should be the first step, because you want enough matching yarn put back, or the strap created first, in order to match the bag

10/28/08

Knit Felt Bag Finished (with pictures) You can do this...please send me a picture if you do.

Another bag for my etsy store. www.BigSis2.etsy.com


Another Bag!!

The picture below shows a finished bag on the right and a bag from the same yarn on the left before felting. The bag on the left is the finished bag above.

This is a close up of the retro yarn and off-white knitted rows before felting:


I held two colors of yarn together throughout. Brown, Off white and Patons Classic Wool "Retro" self-striping in blues, browns and tan. I started with the base (just brown and off-white). I cast on 28, slipped the first stitch on each row, knit one row, purl the next for 16 rows. This gives a nice large stitch on each side to pick up stitches along the sides.

A closer look at the bottom of the bag before felting, the brown and off-white base - you really have to TRUST this will work out, not real obvious at this point, but after it felts it shapes really nice.

To start picking up stitches finish with the wrong side, and using the right needles go into each of your 8 extra large stitches and pull the yarn through leaving it on the right needles. This should be done on a circular needle at this point, and with the smallest length cord as possible, as it gets tight going around the corner. See http://www.knithelp.com/ to get instructions on picking up stitches. Start knitting in the round by marking the corner where picked up stitches and the original knitting meet.
After knitting a round or two - this is coming up from the base, change to the "Retro" self striping. You will need to make the bag 3 times as high as the base is in depth. The base is 10" long and 4" deep, then you want to make the height (before felting) 16" as it will shrink (felt) down to 2/3 it's original height. the piece will felt down to 3/4 it's original width. So the 10" base will become about 7 1/2" to 8".

This sounds a little complicated, but there are many steps in here that http://www.knithelp.com/ coveres. If you are new to knitting open this pattern and open another tab to Knit Help dot Com and watch those videos as you go. To finish do an i-cord cast off - this makes the top of the bag a little more sturdy, and the cast-off is a lot more even - looks like you finished it with purpose. The strap can be as wide as the side, or smaller. I cast-on 5 with size 13 needles holding two strands of yarn together. Then knit and purl each consecutive row until the piece was 1/3 longer than the finished size I desired.

Any questions please comment.

I felted this piece by putting it in a pillow case, tying it shut, dropping it in a small load of very hot, slightly soapy water, and washing it in a top load washer for about 8 minutes.
I think this one actually took me about 6 hours total. These really are EZ4U to do, trust me, and so relaxing.

8/31/08

Knit Felt Purses a SMALL COLLECTION

Double Click on this picture to see a better view of the phone in the pocket, the handmade trinket (polymer clay) and the crocheted and macrame handbag handles (cord).


This is the drawing I used to plan this "Cell Phone" and "Key" Pocket purse (see the phone in the pocket on the left?) See my grandaughter's hand print on the right?


I didn't do the i-cord method on these straps, instead I crocheted a chain triple the finished length of the strap size I need in the end, using two strands of yarn held together. Then I pinned the center of the "crocheted chain" strap to a cork board. I did the ole macrame' technique of knotting each strand, to the other, making a lumpy knotted cord. Then I felted the piece. To macrame' I basically place the right chain length under the left, and take the end back through the loop made when I took the right length under the left, then I pull the knot snug and repeat the step only with the left chain length.


Check out the June blog where I posted this drawing.

http://3knittingsisters.blogspot.com/2008/03/she-got-it.html


I'm about ready to open for business.


What is holding me up is computer time. I'm wanting to design the patterns for each of the current items I've made, have a .pdf file print out for each, record myself literally step-by-step making a purse or computer sleeve, then open my etsy store to sell the items, patterns and/or kits.


This is exciting, and coming together well. In the meantime be sure to subscribe to my blog as I hope to keep posting the step-by-step process and the results over time...this is all good timing with Christmas just around the corner.

8/29/08

Computer Sleeve


This computer sleeve is much smaller, it holds a notebook. The handles are knit as a part of the bag. For instructionson this please comment ... I'm in the process of writing up each of these patterns.

refer to the video: http://3knittingsisters.blogspot.com/2008/08/knit-felt-purses-i-cord-handles.html#links

This one was knit on circular needles and seamed at the bottom. In stockinknit stitch the height usually felts about 1/3 and the width usually felts about 1/4, so you can really be creative and plan the size of your bag. This one has shorter handles, so it can be carried high as shoulder straps, or by hand, along with other bags. It does not have a closure.

5/7/08

FOR A GOOD REASON!!

Wow, it's been a few days since I've posted. It really is for a good reason (or two). From packing for a major event, to lovin' on grandkids, the knitting has taken the back seat!!


I've finished two projects though since the "ONE-DAY" project in the last post.


Andrea saw the "One Day Project" and put in a special request for one from the same yarn as her sweater.


Yep this one is out of the Paton's SWS (Soy Wool Stripes) Earth, with a base from Patons Merino Wool.


The other I'm calling "Candy Corn" for some reason, I think it's sweet and it reminds me of Fall, Harvest, and my favorite snack (if only it were fat free). Ever tried mixing candy corn with dry roasted peanuts...keep them away from me, that's always the beginning of my Holiday Weight Gain, but right now I'm on the Low Life diet, Low Fat - No Life!


This one stands on it's own because I felted it for a longer time, and used Lion Brand Felting Wool (with a Patons Merino Wool Base like the other two).


With a close up of the beautiful copper trim I found in Bloomington, my hubby hopes to take lessons on making these find gems!!

No more projects for awhile gotta ride cross country on my motorcycle...won't have time to knit. http://www.rftw.org/

4/27/08

THE HANDBAG - PURSE aka One-Day-Project


The end product. I posted the un-felted and felted piece a few days ago, this is what I'm carrying (even though these are really winter or fall colors) as a purse this weekend. I may have found my knitting niche'.

You can buy this poster.